The code of the project Yugen is available on Github. The following description is from the README file created by Ben Fischer @ MIREVI, copied under MIT license.
Showing of the Technologies which was used during the showing of Yugen

What is Yugen:
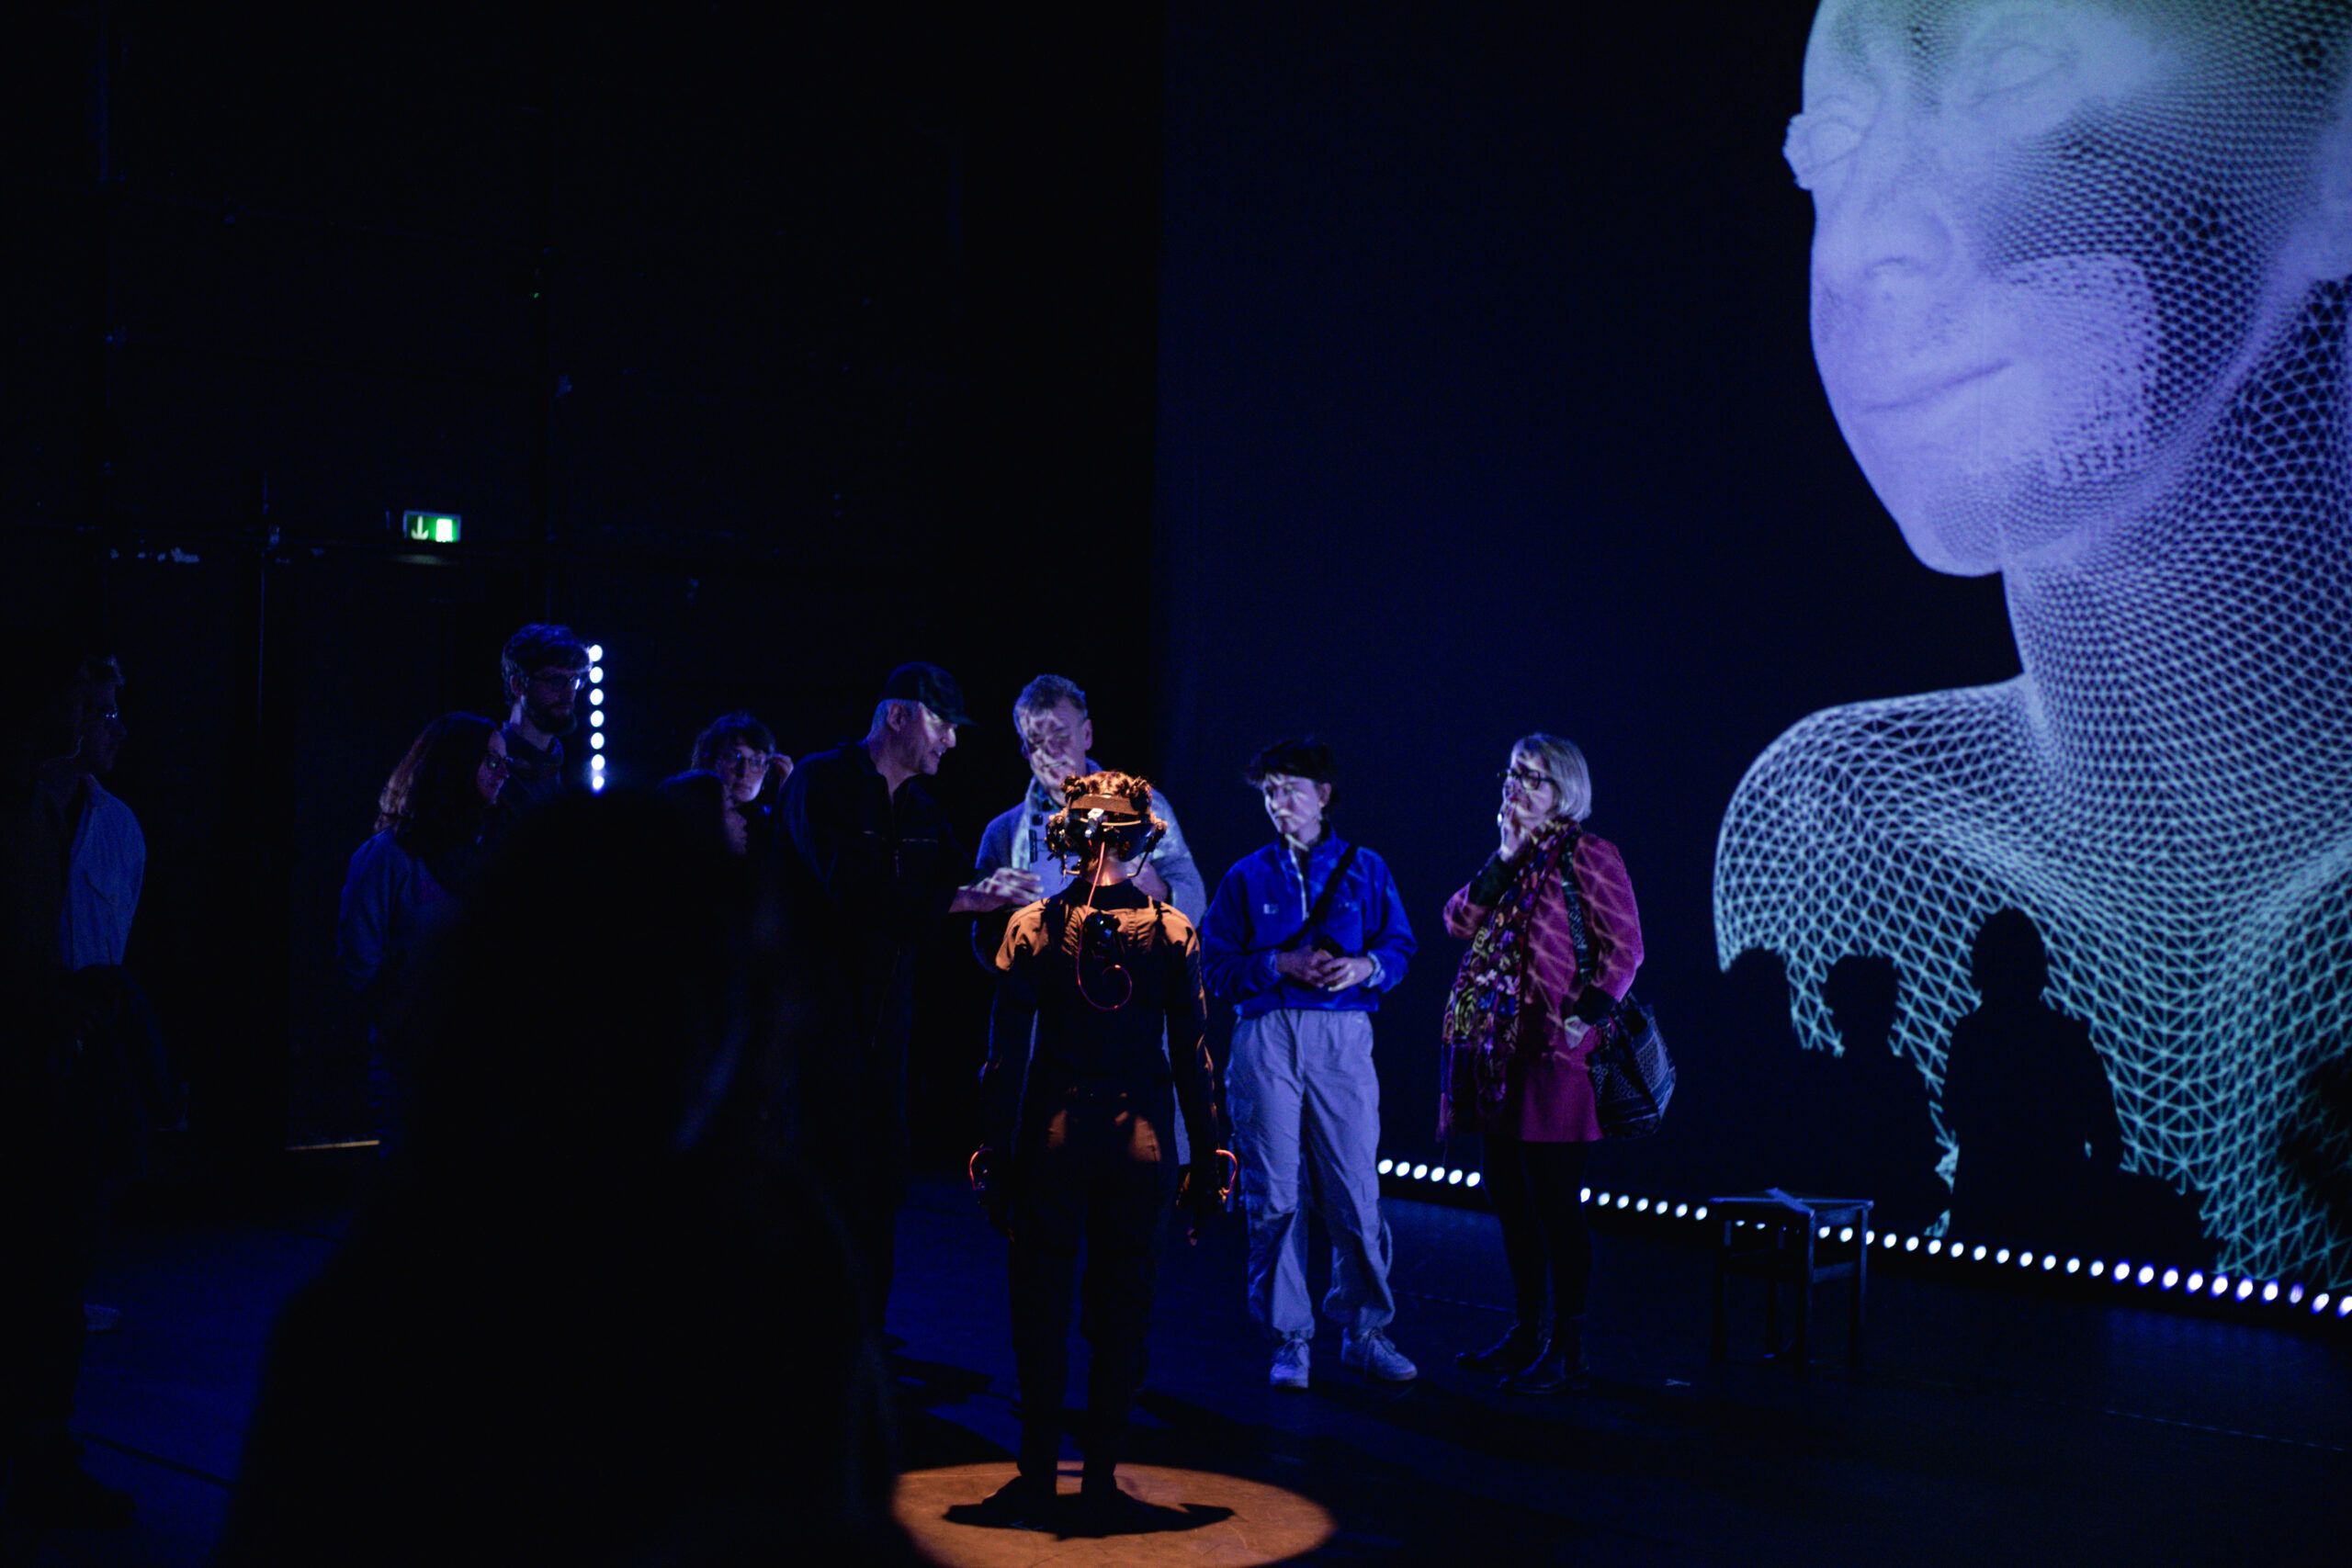
Yugen is a showing created by Christine Bonansea & Chris Ziegler during the EU dance and technology initiative MODINA. During their residence they got development and tech-support from MIREVI. Music and Sound was produced by Hugo Paquete.
The act was about a human dancer wearing a motion-capture-suit, and a virtual avatar, showing off interactions between them.
The showing was split in three different parts:
- PreShow with virtual Ipad-Camera
- Dancer on Stage with projection-mapping on top of her
- Dancer on Stage with background-projection
Limitations of the demo:
- Due to third-party-licenses, technological complexity and very specific hardware requirements, this demo is only showing the third and longest part.
- Due to privacy rights a different virtual avatar is used, and the animations were replaced with freely available animations from mixamo.
What does the demo show:
- Cameraswitching between static and moving cameras
- Animationblending between different prerecorded animationclips
- Animationblending between prerecorded and livestreamed animations
- Changing visual styles
- Timedilation
- Mapping Livestreamed data from Rokoko and LiveLinkFace to Metahuman
During the show this was controlled via a Streamdeck and Keyboard Inputs. The demonstrator uses UI-elements for a better usability and easier interaction.
Requirements:
- Unreal 5.2
- Rokoko Plugin installed
How to use:
- Open the Unreal-Project and open the Mainlevel.
- Press “Play”
- UI appears in the Gameview

The UI is split into three sections:
- CameraManager -> Upper left corner
- RenderManager -> lower left corner
- AnimationManager -> right side
CameraManager:
The CameraManager-UI is made of buttons, which let you control what camera is used to render the scene.
- Camera 1-3 are static cameras placed in the scene similar to position which were used during the showing
- Camera 4 is mounted to the head of the virtual avatar (with a bit of smoothing applied)
- Camera 5 is a movable camera, controllable via WASD or ArrowKeys and rotated by holding down the left mouse button and moving it around inside the view.

Underneath there are FadeOut/FadeIn buttons, which can be used to fade the view to black and reverse it over a duration of 5 seconds
During the show this was used to control the visuals on the backprojection.
RenderManager:
The RenderManager-UI is five buttons, each changing the view to a different rendermode/visual.
- Normal: The normal rendering, which is active by default
- Wireframe: Displays only the mesh topology
- Unlit: Removes all lighting calculations
- Detail: Shows lighting without base color textures
- ShaderComplexity: Shows how complex the shadercalculations are for what part of the image

These are the modes you are also capable to switch in between when using Unreal by pressing F1-F5 when play is active.
During the show this was used to change the visual style, especially in preshow and the end sequence.
AnimationManager:
The AnimationManager controls anything which has to do with the animation on the virtual character:
Animations:
To set an animation select one of the eight buttons. There are two selectionslots (blue/red). By pressing a button the oldest selection gets replaced. Right now the animations are:
- HipHop1
- HipHop2
- Rumba
- Samba
- SillyDance
- Brookly Uprock
- Angry
- Capoeira
These animations can be replaced to any animation based on a metahuman by selecting the animationmanager in the Outliner and swapping out the animations in the Details-panel.

Replacing them with animation not based on a metahuman, a retargeting is necessary. This can be done by importing the animation into Unreal and following this guide:
The prepared Metahuman-IK-Rig can be found in Content/MetaHumans/Metahuman_IKRig.
During the show different animations were used based on the story and triggered at specific timings.
AnimationBlending:
To blend between the two selected animations move the slider underneath the 8 buttons. At the most left position only the blue animation, on the most right position only the red is playing. In-between both animations are blended, depending on how far the slider is moved towards a side.
During the showing the animation-blending was used to swap between animations or to insert glitch-effects into the animation.
TimeDilation:
With the second slider the speed of the animation on the character can be set.
- 1 -> normal speed
- 0.1 – 0.9 -> slower animation
- 1.1 – 2-0 -> faster animation
- 0 -> paused
During the showing the time dilation was used to set focus on specific virtual movements (slow-motion) and to support the glitching effect in the end (fast-forward)
MocapBlending
The third slider is for blending between the prerecorded animation set with the buttons, and a livestreamed animation via Rokoko-LiveLink-Plugin.
To stream body-mocap-data from Rokoko to Unreal follow this guide from [25] onwards:
Additionally, select BP_Lexi in the Outliner and change the LiveLinkBodySubject to the correct name:

To stream face-mocap-data from iPhone to Unreal follow this guide until the phone shows up in LiveLink (Stop at “Software Setup”):
Start Streaming with LiveLinkFace
Additionally, select BP_Lexi in the Outliner and change the ARKitFaceSubject to the correct name:

As a substitute, a LiveLinkRecording can be found under Content/Cinematics/Scene_1_08 in case Rokoko and/or an Iphone is not available. Double click it to open the Sequencer and press play on the bottom left to start the animation. Two LiveLinkSources should appear in Unreal-LiveLink.

With the button “Toggle Facetracking” the facial-animations can be changed between pre-recorded and livestreamed facial-animations.
During the show this was used to sync up the real dancer with the virtual avatar, based on how close the dancer was to the screen.
- If the dancer was next to the screen, both movements were identically.
- When the dancer moved away, the animation blended towards a prerecorded and the dancers unsynced.
This can be simulated inside the white square underneath the mocap-slider by moving the blue dot around.

Left: Fully synced || Middle: mixed || Right Fully asynced
Underneath there are two reset-buttons in case the animations leads the character too far offstage. Both reset the virtual avatars position back to the center. Soft reset does this over a time span of 3 seconds, the other instantly.
